Raised beds
RAISED BED TIPS AND TRICKS
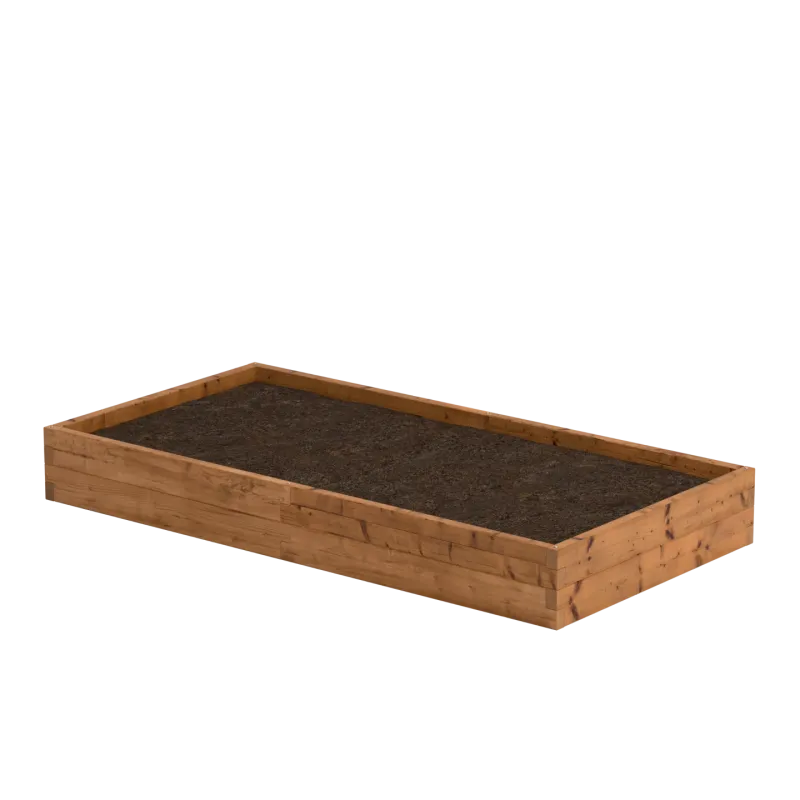
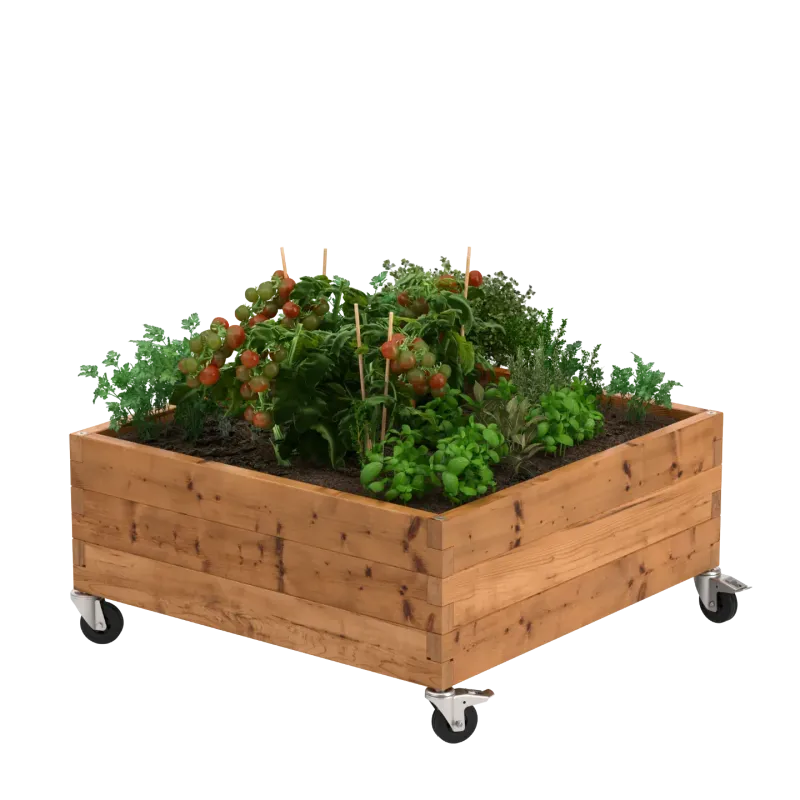
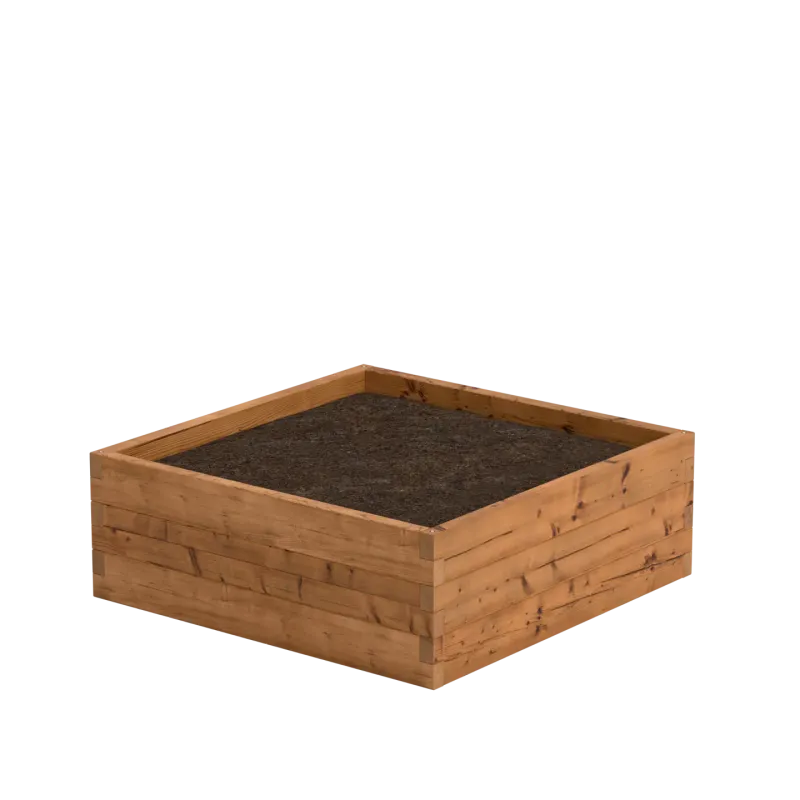
Build the perfect wooden raised bed, square meter garden, or garden bed edging in just minutes. No measuring, sawing, drilling, or screwing! Choose from affordable, ready-to-use kits made from thermally modified wood with drastically improved shape stability and natural resistance to insects and rot. Enjoy at least 5 years of warranty and a lifespan of up to 20 years.
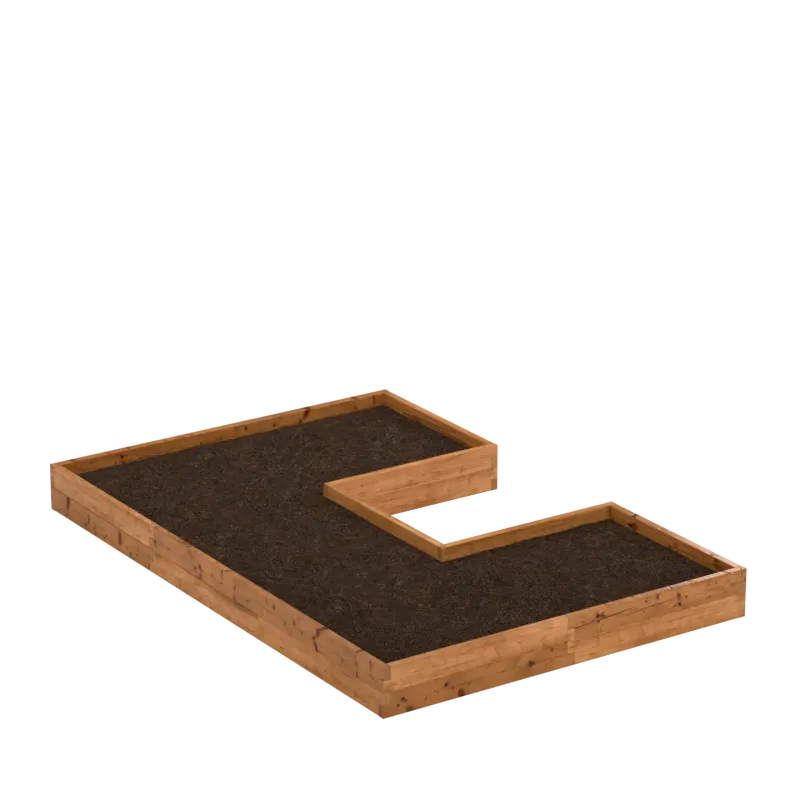
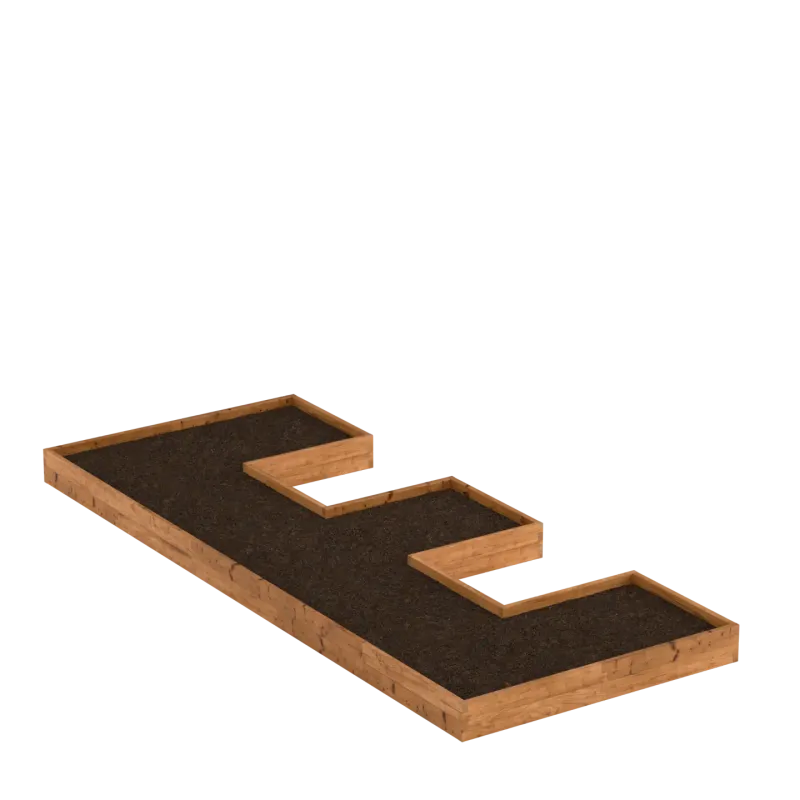
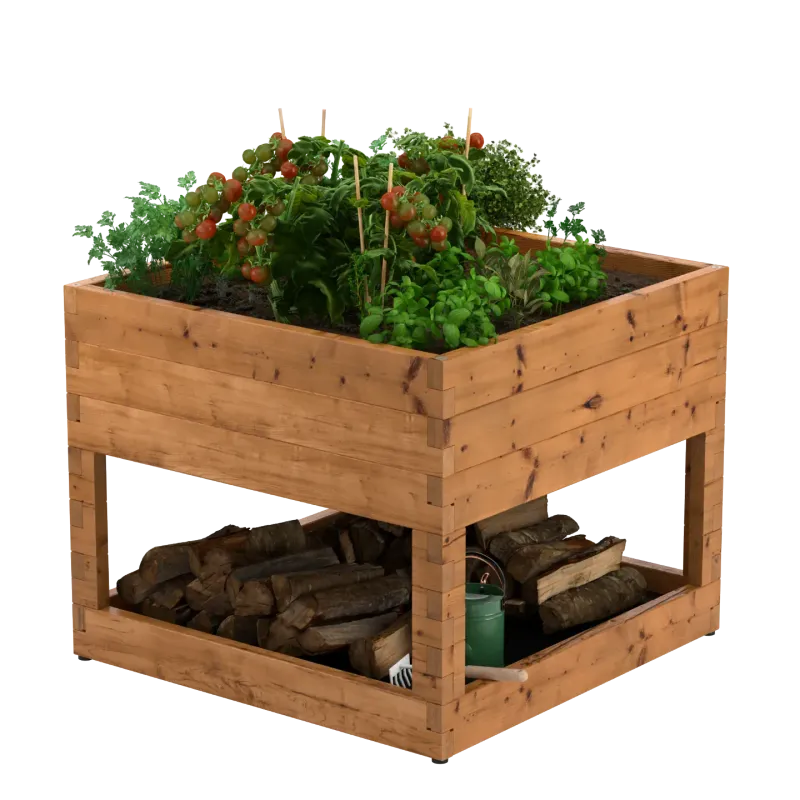
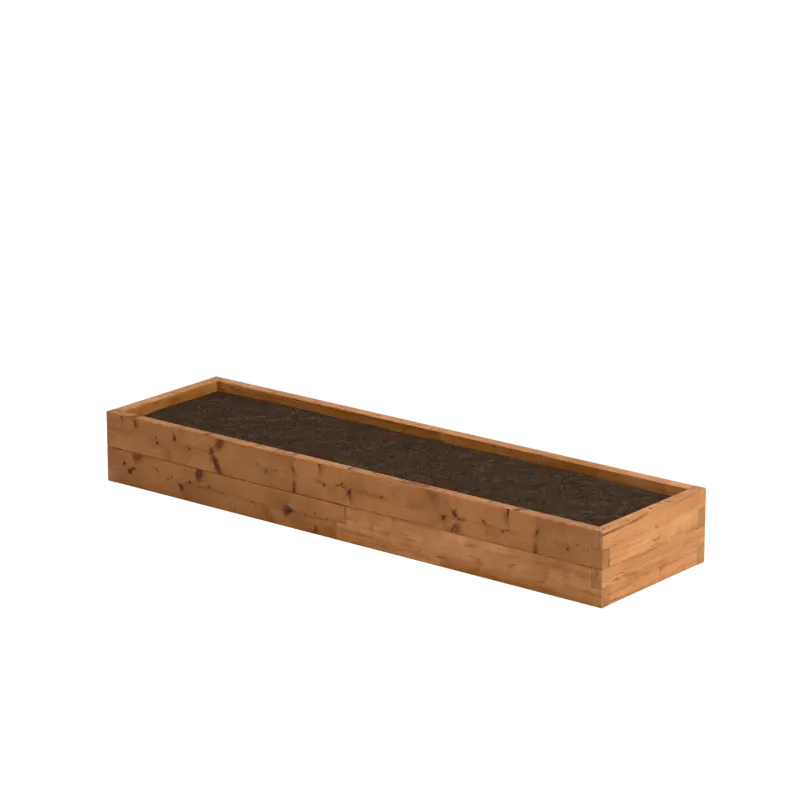
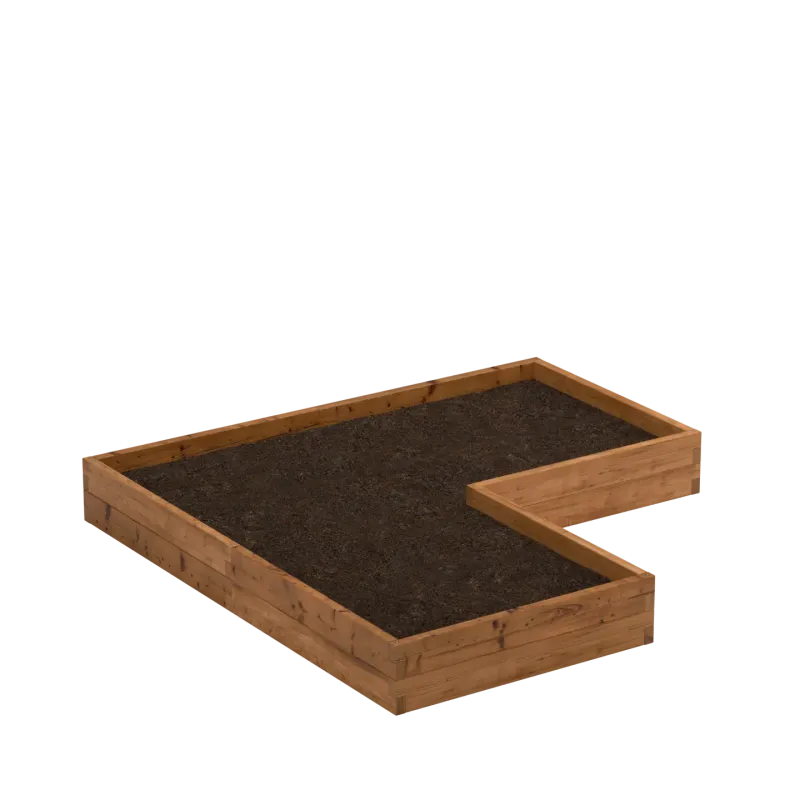
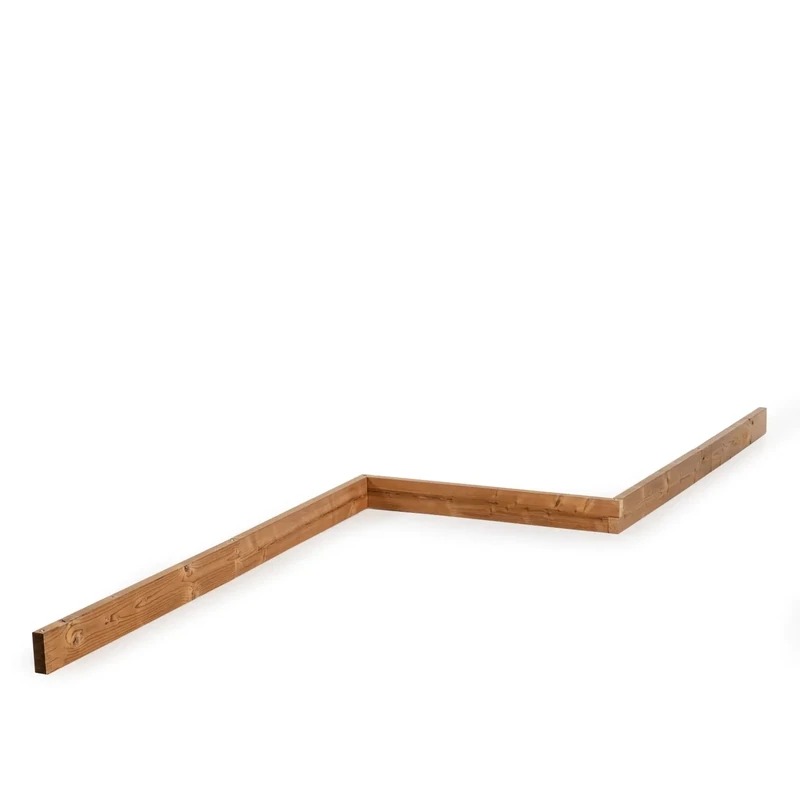
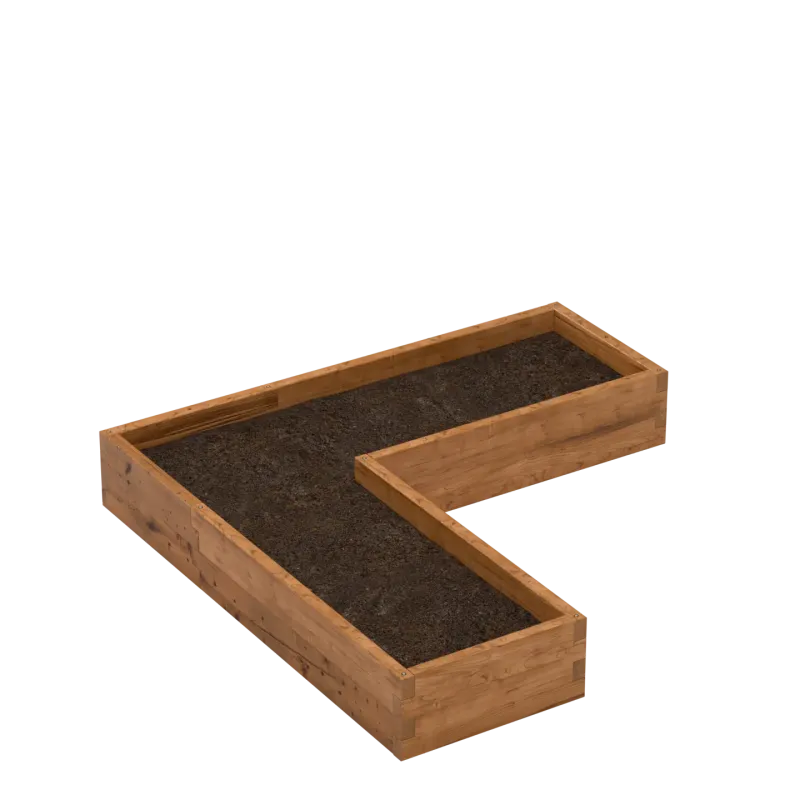
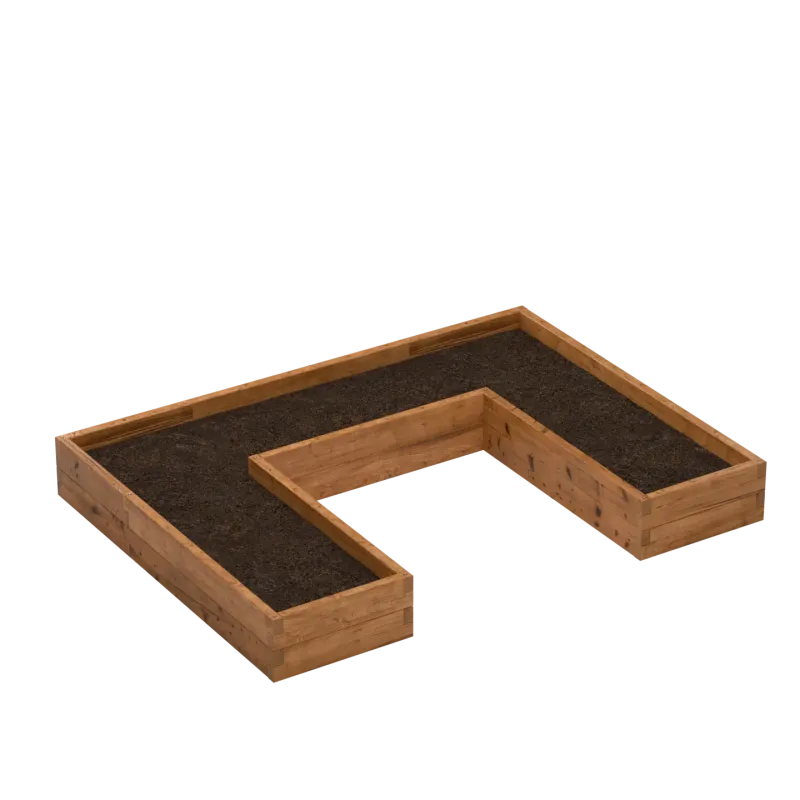
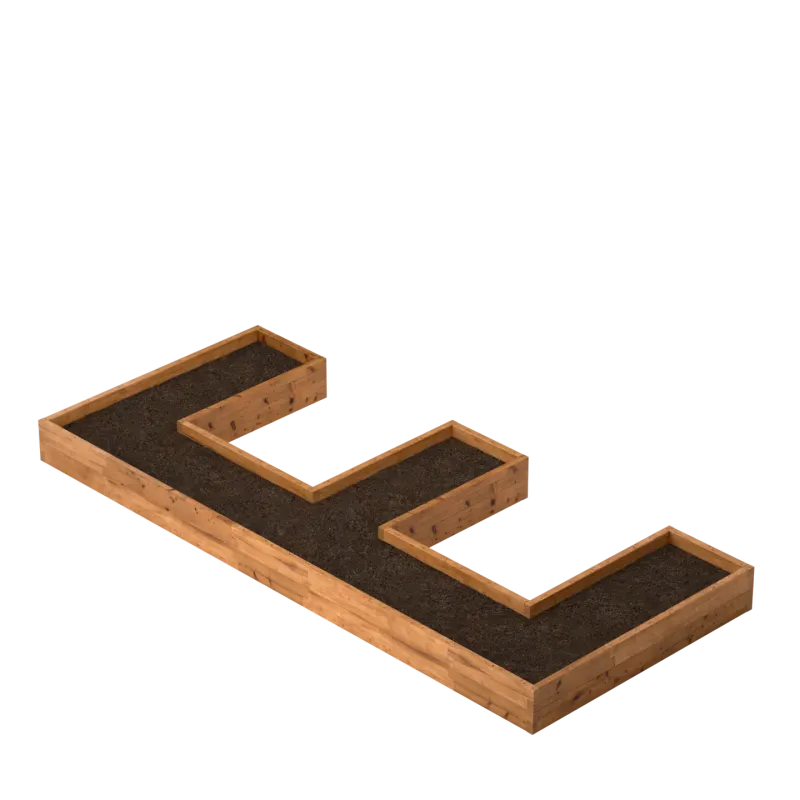
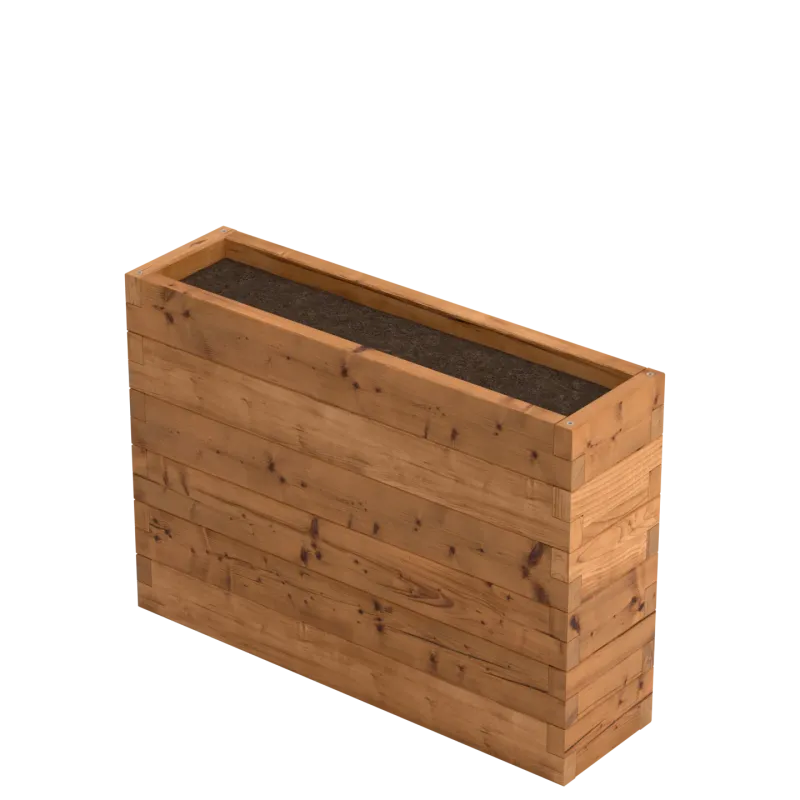
Need an extra-long or tall raised bed? A different shape? It’s a breeze with our modular and ultra-fast assembly method. Check out this handy raised bed guide for common shapes and sizes, along with tips for growing vegetables, herbs, and small fruits in raised beds. Need help? Call +32 16 847 832, send an email, or use the chat button on the right-hand side of this page.
CONCEPT
Square meter gardening using a raised bed is an easy, eco-friendly, and efficient way to grow vegetables in a small space in your garden. Anyone can do it, and success is almost always guaranteed.
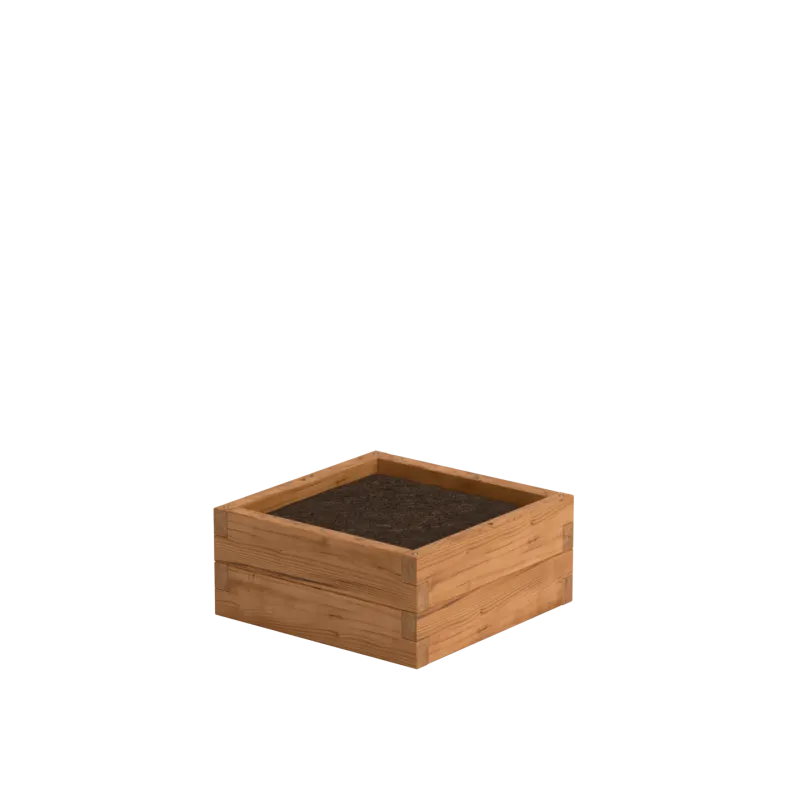
The term "square meter garden" originates from the standard size of a raised bed: approximately 1 m x 1 m, subdivided into 9 planting grids of 33 x 33 cm. A width of 1 meter allows easy access to the center of the bed for planting and harvesting. Length is unlimited: adapt to your outdoor space.
BENEFITS
Growing vegetables in a wooden raised bed offers undeniable advantages:
- Full control over soil quality (substrate) in the beds;
- Substrate warms faster in raised beds, allowing earlier planting and harvesting;
- Successive planting in small grids spreads the harvest, reducing waste and monotony;
- Suitable for small spaces, even terraces or balconies;
- Dense planting minimizes weed growth;
- Less physical strain—no digging or heavy weeding;
- Minimal use of water, seeds, fertilizers, and pesticides.
PLACEMENT
The ideal spot faces south, with all-day sun and shelter from wind and cold. A minimum of 5–6 hours of direct sunlight is necessary. Avoid waterlogged areas as plants dislike soggy roots. Proximity to the kitchen is practical for quick harvests during cooking. Allow 75 cm or more around beds for easy wheelbarrow access.
SOIL MIX
For optimal growth, the substrate in raised beds should retain water and nutrients while staying airy for root development. A mix of compost (33%), peat (33%), and vermiculite (33%) works best.
- Compost adds nutrients and structure;
- Peat keeps the substrate airy and moisture-retentive; coconut fiber is a sustainable alternative;
- Vermiculite buffers air and water, reducing watering frequency.
Ready-made potting soil can substitute if mixing your own is impractical. Keep the substrate moist during bed filling and top up high beds with layers of grass, leaves, or shredded wood, capped with cardboard, before adding 20 to 30 cm of quality soil.
SEEDING AND PLANTING
Dividing a raised bed into sowing and planting grids of 33 x 33 cm is a simple yet effective method for organizing sowing and planting. This division can be done in various ways: by drawing lines in the substrate with your fingers, using a DIY wooden grid, or similar.
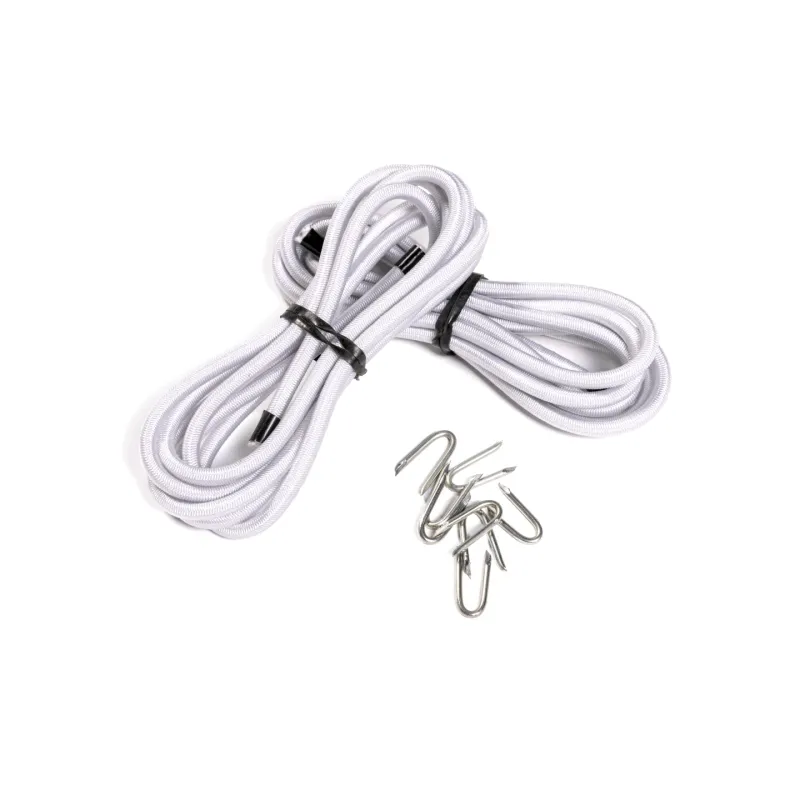
Experience shows that using elastic cord and staples is the easiest and most efficient method. It’s quick to set up, and the sowing and planting grid remains neat and taut. The flexible cord ensures that each zone of the raised bed is easily accessible by hand.
Sowing and planting in a square meter garden or wooden raised bed is different from traditional vegetable gardening. The idea is to grow a different type of vegetable in each 33 x 33 cm grid. Of course, you can grow the same vegetable in multiple grids, such as lettuce, but sow these grids a few weeks apart. This way, not all the lettuce in the raised bed will be ready for harvest at the same time, avoiding waste.
Each sowing and planting grid can accommodate 1, 4, 9, or 16 plants. A sowing and planting scheme will indicate exactly how many plants of each type fit in a single grid. Some crops may require at least two grids. If you’re using seeds, plant one seed per spot (or a few to ensure germination). This approach saves significantly on seeds.
Keep the substrate consistently moist to prevent the top layer from drying out. Once the seeds have germinated, avoid spraying the seedlings directly to prevent burning and pests. Seedlings in a raised bed generally don’t need thinning since each grid is only sown or planted at the spacing that mature plants will need. If multiple seeds germinate in one spot, keep the strongest and carefully snip away the others.
Vegetables that are frequently harvested (e.g., lettuce) should be planted or sown along the edges of the bed for easier access. Larger vegetable varieties are best placed in a corner or at the back edge of the bed so they can take advantage of the space next to the bed to grow freely. Climbers should be placed at the north side, at the back of the raised bed, to avoid shading other plants in the bed.
In adjacent grids, grow vegetables from different botanical families. This prevents an oversupply of similar vegetables and reduces the risk of diseases and pests. Occasionally replenish grids with fresh compost, especially after harvesting and before replanting or sowing. When replanting, practice crop rotation as much as possible to further minimize the risk of diseases and pests.
Keep track of what was sown or planted in each grid and when. This ensures you won’t forget which variety you chose and helps you better align crop rotation and harvest times. Download helpful sowing and planting schedules for our most popular raised beds here.
ACCESSORIES
Complete your raised bed with a custom-fit drainage geotextile to prevent soil from washing out on hard surfaces (terrace or balcony) while still allowing excess rainwater to drain easily.
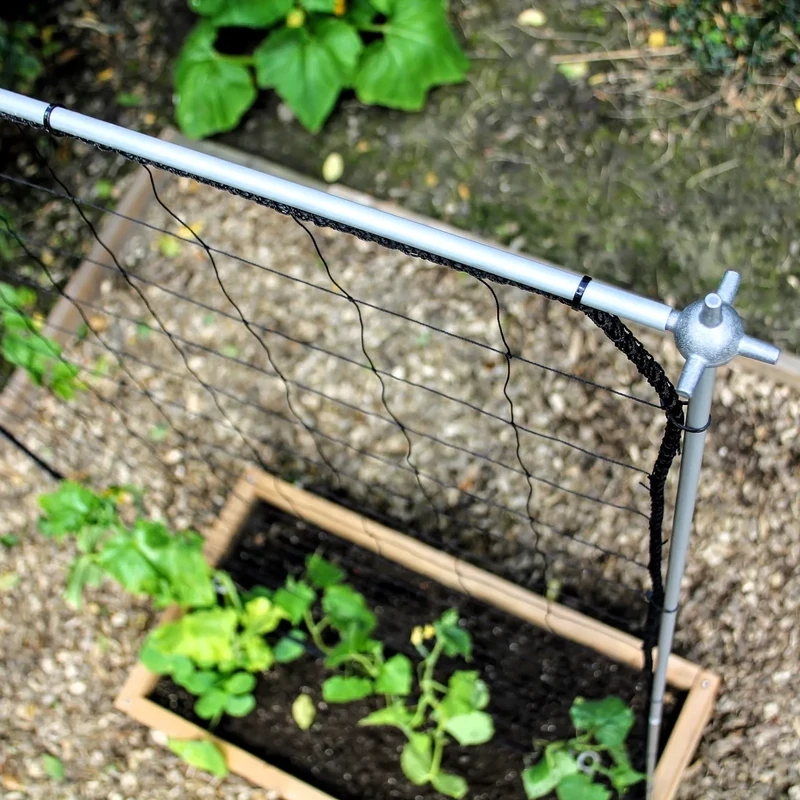
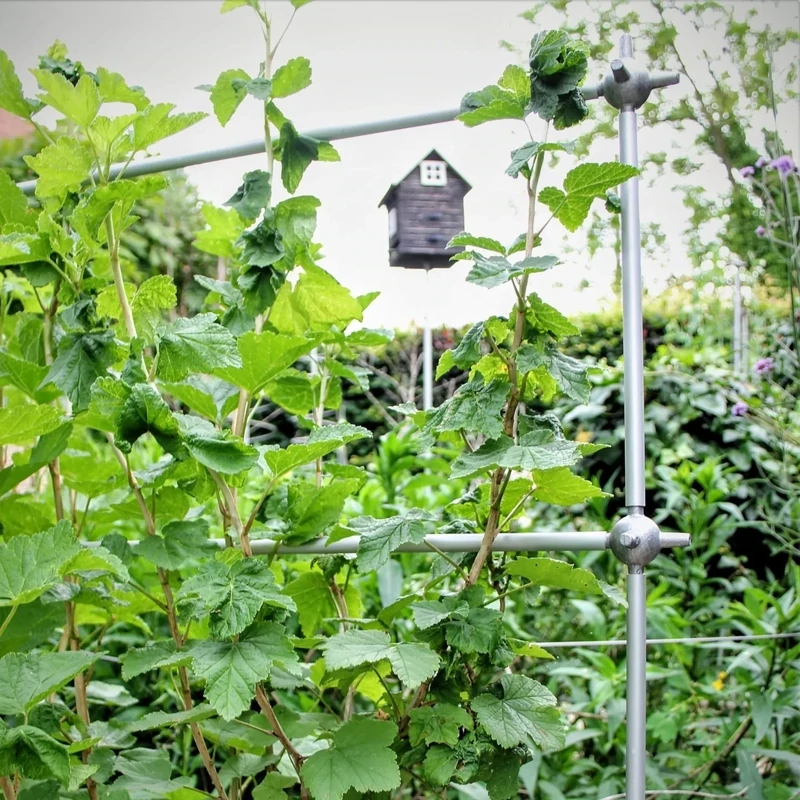
Attach a trellis to the ground spikes that connect the modular beams to support climbers like clematis, honeysuckle, nasturtiums, sweet peas, pumpkins, melons, cucumbers, gherkins, beans, peas, and more. Use an espalier trellis to provide essential support for small fruits. Place these additions on the north side of the raised bed to avoid shading other plants and vegetables.
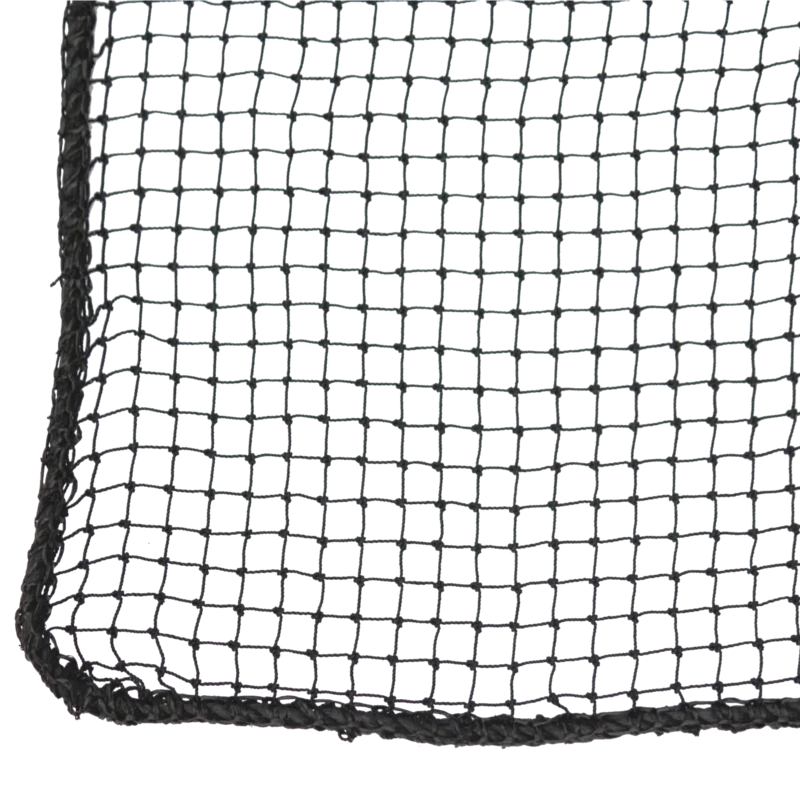
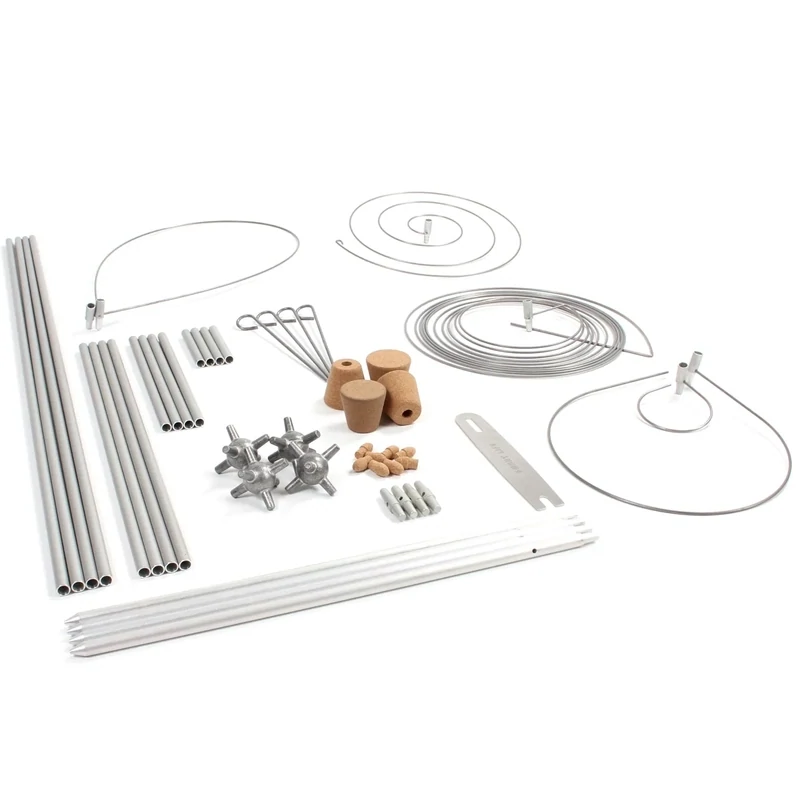
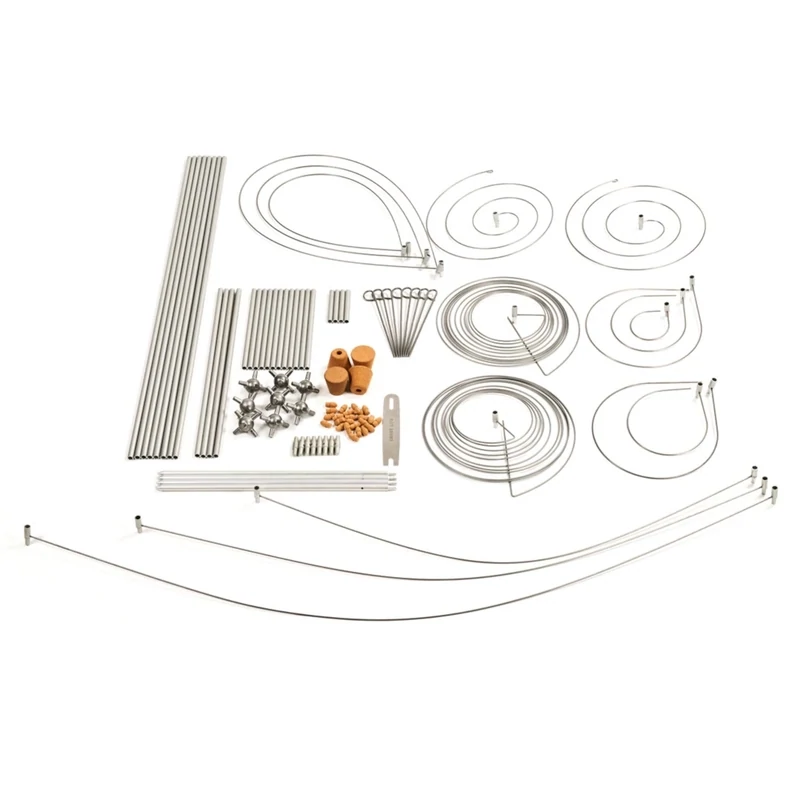
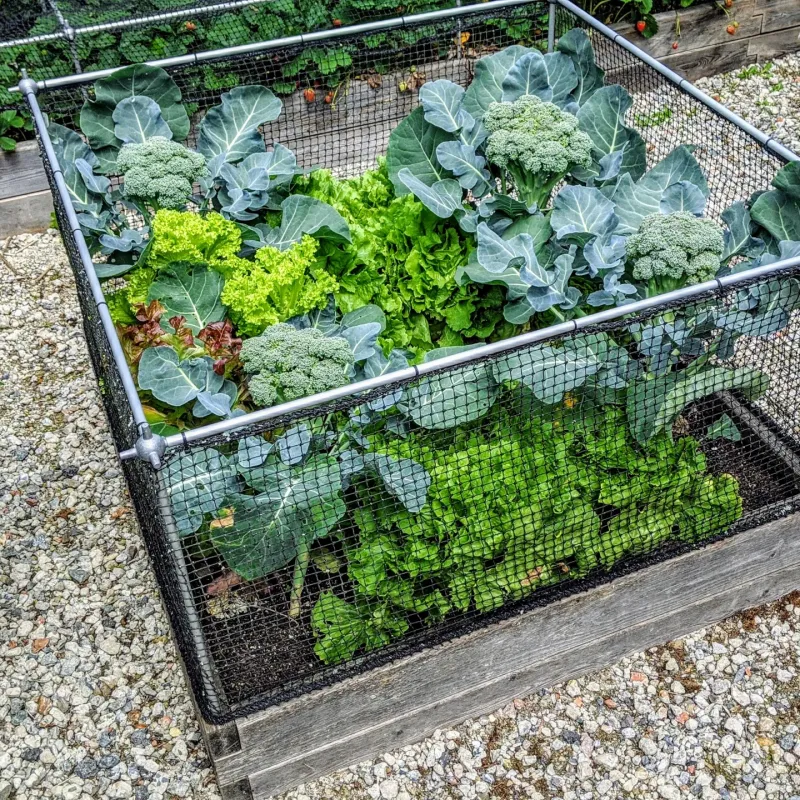
Add a fruit and vegetable cage to protect the contents of your raised bed from birds, chickens, rabbits, and more. It also helps prevent unwanted visits from cats and dogs.
